Setting up your vintage Singer sewing machine and table ensures smooth operation and preserves its condition. Follow these essential steps without delay.
Preparation and Cleaning
Place the table in a stable, well-lit area. Inspect both machine and table for dust or rust.
- Wipe surfaces with a soft, dry cloth; avoid harsh chemicals to prevent damage.
- Lubricate moving parts sparingly, if needed, using singer-specific oil for optimal function.
Mounting the Sewing Machine
Position the machine in the table's recessed compartment. Align its base holes with mounting studs.
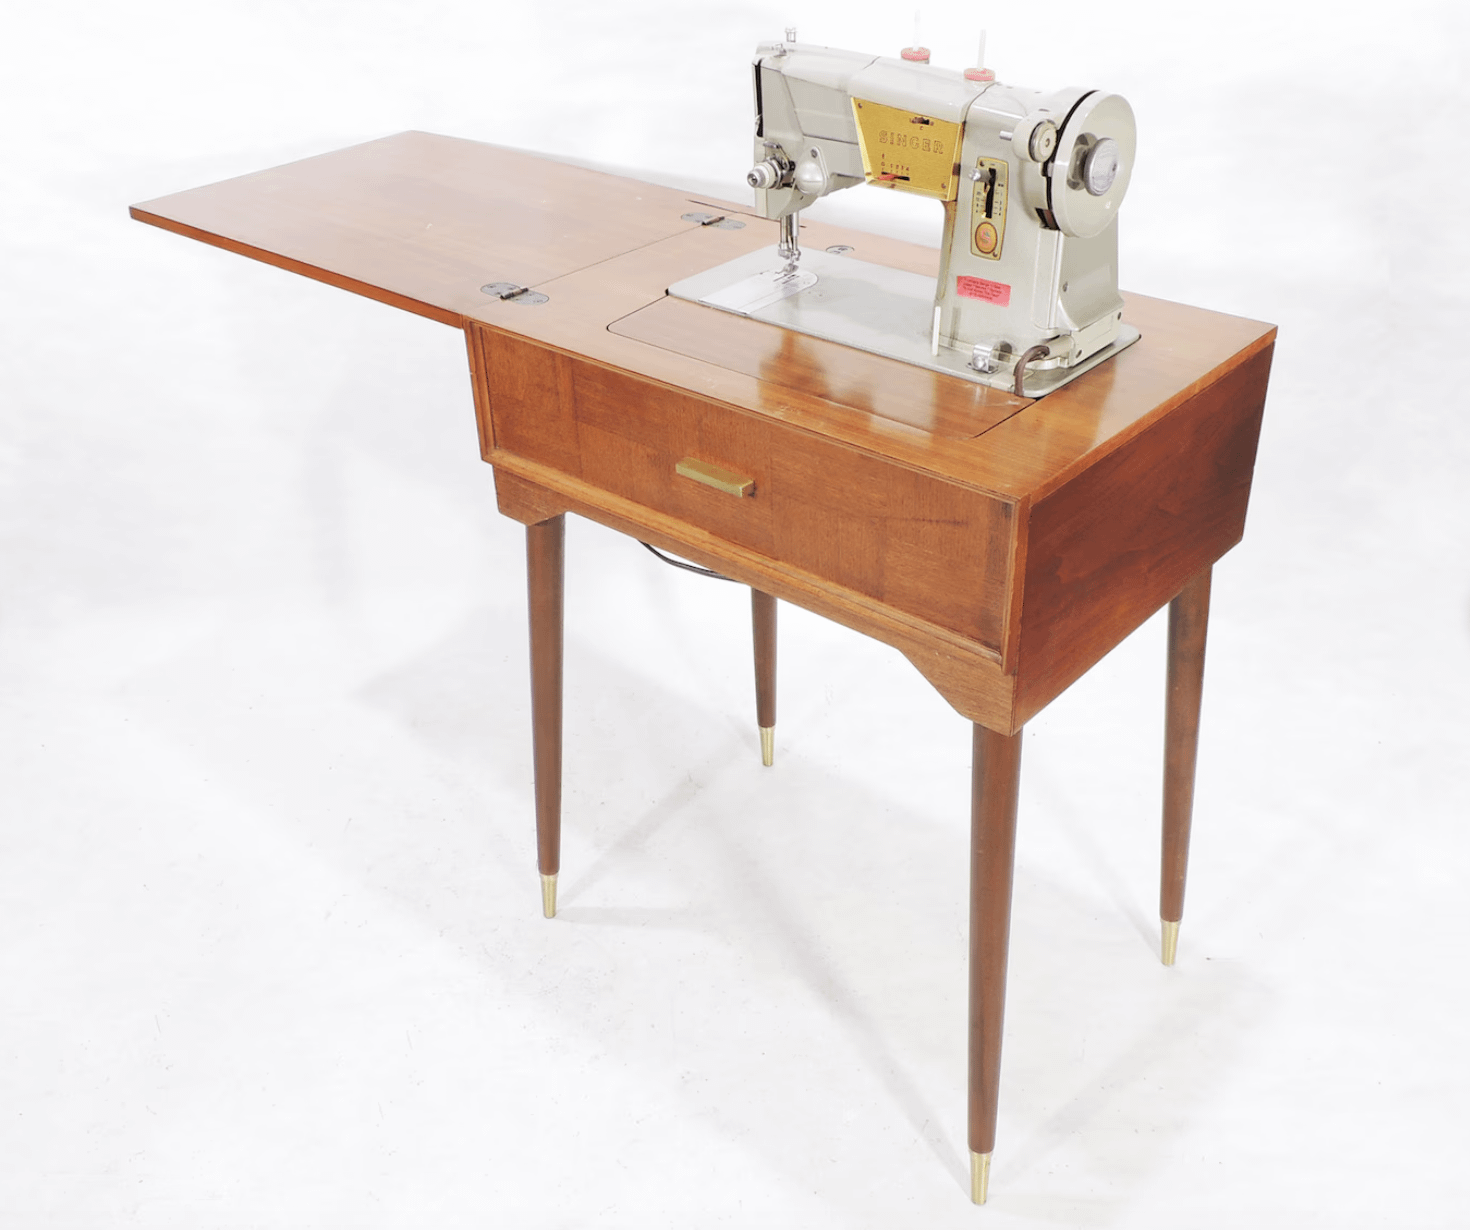
- Secure the machine tightly using the hand wheel or fasteners, ensuring no wobble occurs.
- For flip-top models, verify the mechanism locks firmly to avoid accidents.
Threading and Needle Setup
Wind a bobbin using the machine's winder. Insert it correctly into the bobbin case.
- Thread the upper path: from spool pin through tension discs to needle, following guides precisely.
- Insert a new, sharp needle matching your fabric type; tighten with a screwdriver for stability.
Testing and Adjustment
Use scrap fabric to run initial stitches. Start slowly to monitor performance.
- Adjust stitch length and tension dials incrementally for balanced stitches.
- Listen for unusual sounds; address any skipping or jamming immediately by rethreading.
Your setup is complete. Always unplug after use to maintain safety and longevity.