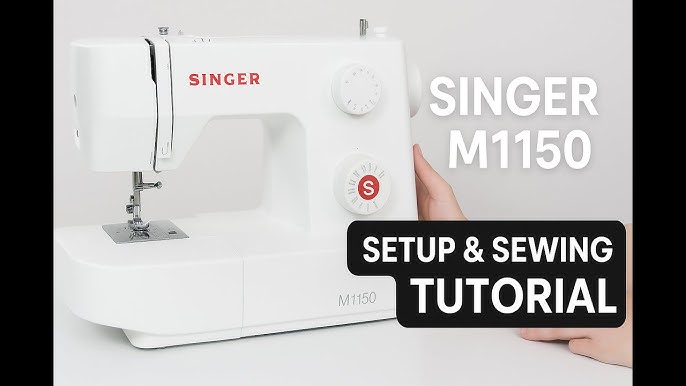
Follow this step-by-step guide to begin operating your Singer M1150 sewing machine efficiently and safely.
Unpack & Setup
Remove all packaging materials. Locate and connect the foot control and power cord. Place the machine on a stable, well-lit surface.
Winding & Inserting the Bobbin
Winding:

- Place spool on top pin. Thread through guide to bobbin winder tension.
- Push bobbin onto winder shaft, pass thread through hole, push shaft right.
- Hold thread tail, press foot control until full.
Inserting:
- Remove needle plate cover. Hold bobbin with thread clockwise.
- Drop bobbin into case, pull thread into slot.
- Gently pull thread to engage tension; replace cover.
Threading the Upper Thread
- Raise presser foot and needle to highest position.
- Follow numbered threading path: thread guide > tension discs > take-up lever (U-shape) > needle clamp guide.
- Thread needle front to back. Hold top thread tail.
Drawing Up Bobbin Thread
Hold top thread, lower needle then raise it using handwheel. Pull top thread to bring bobbin loop up. Pull both threads under presser foot towards the back.
Selecting Stitches & Settings
- Use stitch selector dial to choose pattern.
- Adjust stitch length dial based on fabric (higher numbers = longer stitches).
- Set stitch width dial (if applicable for selected stitch).
- Set tension dial to 4 initially; test sew on scrap fabric.
Basic Sewing
- Place fabric under presser foot, lower presser foot lever.
- Start sewing slowly; guide fabric gently without pulling.
- Use reverse lever to secure stitches at ends.
Maintenance
Clean lint buildup under needle plate and around feed dogs after every project using the small brush provided.
Critical Safety Notes
ALWAYS:
- Disconnect power before changing needles, cleaning, or maintenance.
- Keep fingers clear of moving needle and hook area.
- Use only Singer 15x1 needles. Insert correctly (flat side back).
- Disconnect foot control when storing.


