Restoring antique Singer sewing machines demands meticulous care. Follow these essential steps to revive functionality while preserving historical integrity.
Initial Assessment & Preparation
Unplug the machine and remove the needle. Document original configurations with photographs. Inventory all parts, noting missing components like bobbin cases or presser feet. Gather supplies: distilled white vinegar, kerosene, high-grade sewing machine oil (not WD-40), lint-free cloths, and soft brushes.
Deep Cleaning Process
Surface Cleaning: Wipe exterior with a vinegar-dampened cloth. For stubborn grime, apply kerosene sparingly with cotton swabs. Avoid abrasive cleaners on decals. Clean the belt with mild soap if intact; replace if cracked.
Internal Mechanism:
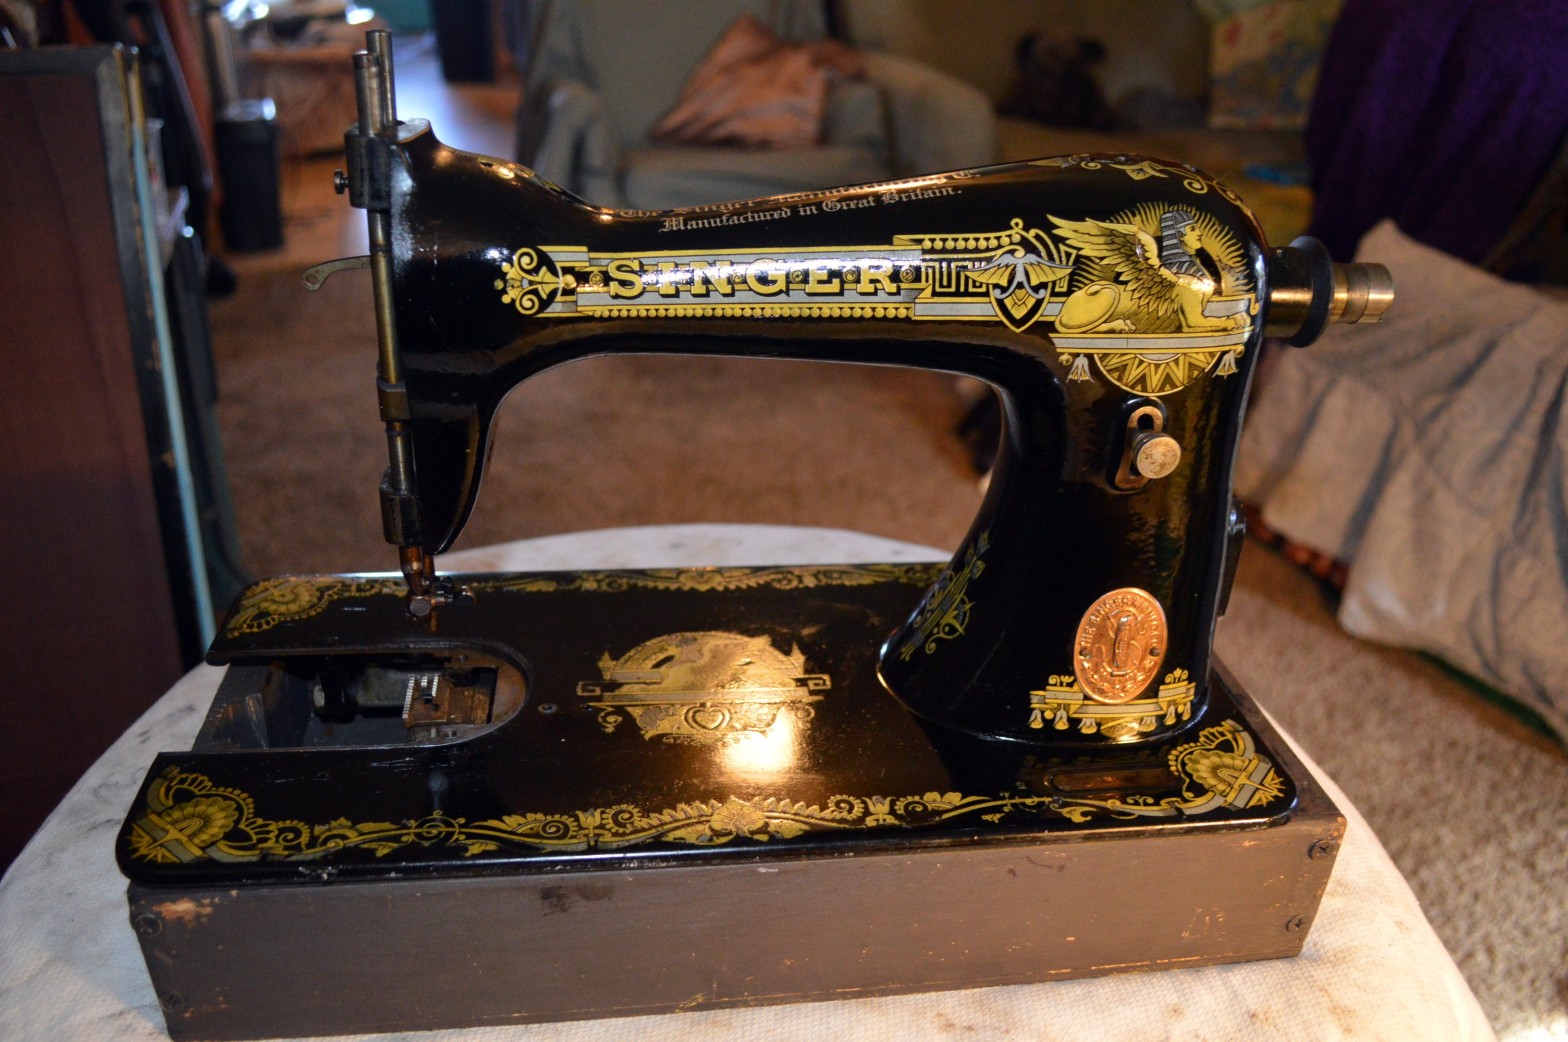
- Remove the faceplate and needle plate
- Gently brush lint deposits from feed dogs and shuttle race
- Apply kerosene to corroded areas with a toothbrush, then wipe thoroughly
- Critical: Never soak metal parts or submerge the machine
Proper Lubrication
After complete drying, lubricate all moving joints:
- Apply one drop of oil to each bearing point in the treadle linkage
- Oil the hook race and bobbin assembly
- Work the handwheel to distribute oil throughout the gears
- Wipe excess oil immediately to prevent dust accumulation
Mechanical Adjustments
Tension System: Clean tension discs with folded paper. Adjust incrementally using the numbered dial, testing with scrap fabric between changes.
Feed Dogs: Ensure teeth align perfectly with the needle plate. Adjust height via the presser bar linkage if uneven.
Final Testing
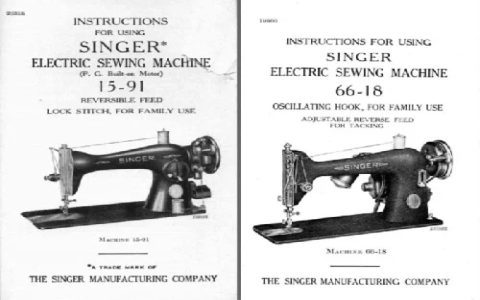
Reassemble completely before threading. Test with medium-weight cotton fabric. Listen for rhythmic operation—grinding indicates insufficient lubrication; clunking suggests timing issues. Consult vintage manuals for model-specific timing adjustments.
Store restored machines covered in low-humidity environments. Run monthly to maintain lubrication distribution. Regular dusting preserves finishes better than polish.

