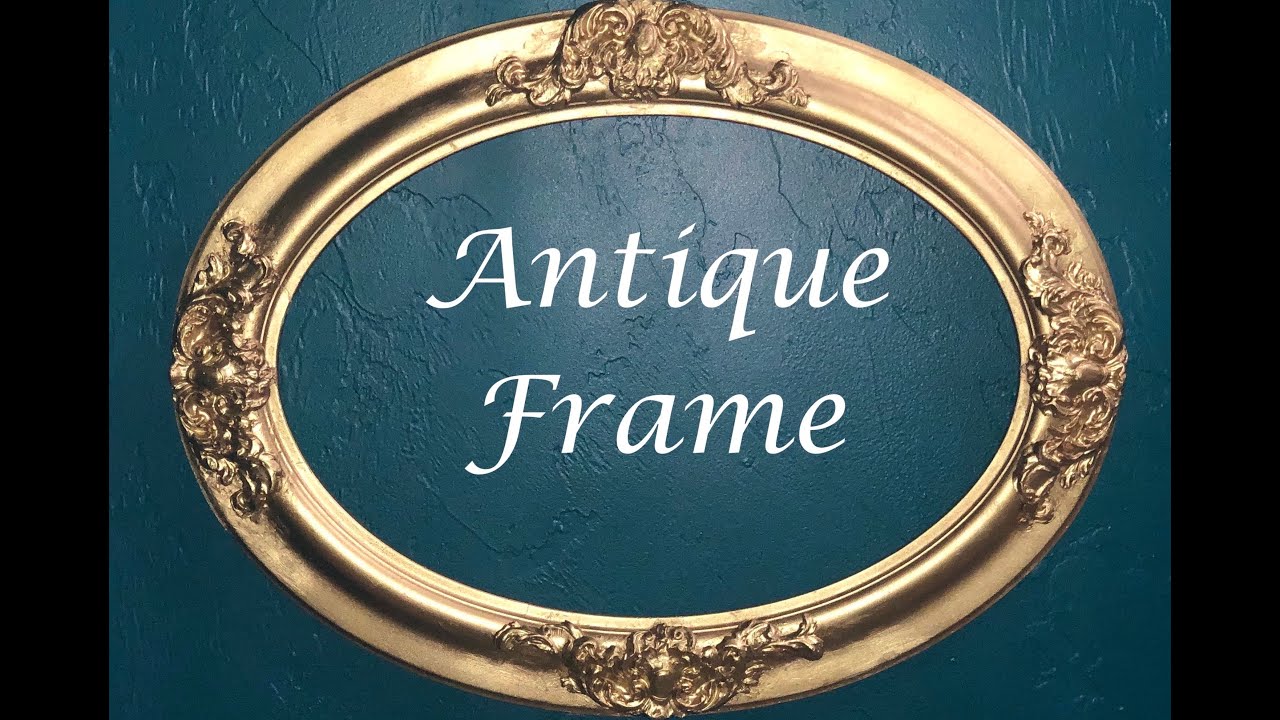
Introduction to Frame Restoration
Repairing chipped oval picture frames yourself requires precision and basic woodworking tools. Focus on minor chips to avoid structural damage and restore aesthetic value.
Essential Tools and Materials
- Wood filler or epoxy putty for chip repair
- Fine-grit sandpaper for smoothing surfaces
- Acrylic touch-up paint matching original color
- Soft cloth and mild cleaner for prep
- Adhesive like PVA glue for loose fragments
- Protective sealant for finish preservation
Step-by-Step Repair Guide
1. Assess and Clean the Frame: Inspect for loose pieces and depth of chips. Gently brush off dust with a soft cloth dampened in mild cleaner.
- For heavy grime, wipe lightly with water-vinegar solution.
2. Address Chipped Areas: Apply wood filler to small chips using a spatula, ensuring a slightly raised fill. Let it dry per product instructions.
- For deep damage, build layers slowly, sanding between coats.
3. Sand and Smooth Surfaces: After filler cures, use fine-grit sandpaper to level areas, blending with the frame's curve. Wipe away residue.
- Aim for smooth, seamless transitions.
4. Touch-Up and Seal: Apply acrylic paint to match the frame's finish. Allow it to dry, then coat with clear sealant for protection against wear.
- Test colors in a hidden spot first.
5. Final Inspection: Reassemble the frame once repairs set, checking for sturdiness. Store in a dry, stable environment to maintain results.