Unicorn cookies are a whimsical and popular baked treat, characterized by their vibrant colors, imaginative designs, and connection to the mythical unicorn.
Core Characteristics
The essence of unicorn cookies lies in their visual appeal. They typically feature:
- Color Palette: Predominantly pastel shades such as pink, lavender, baby blue, mint green, and soft yellow. Rainbow gradients and accents are also common.
- Iconography: Common motifs include unicorn heads (often in profile), full-bodied unicorns, rainbows, stars, and clouds. The unicorn horn is a signature element, frequently highlighted.
- Decorative Finishes: Edible glitter, luster dust (especially gold or silver for horns), sprinkles, and sugar pearls are extensively used to enhance the magical appearance.
Key Techniques and Ingredients
Achieving the distinctive look of unicorn cookies relies on specific baking and decorating methods:

- Cookie Base: A sturdy, no-spread sugar cookie or shortbread recipe is preferred to maintain sharp edges and defined shapes during baking.
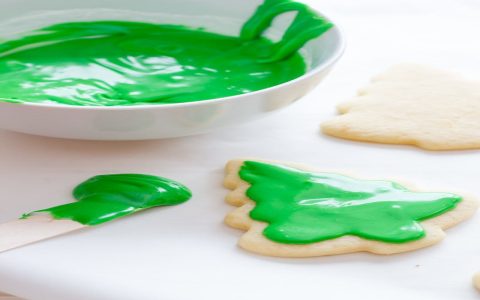
- Icing: Royal icing is the standard due to its ability to dry hard and smooth, providing an ideal canvas for detailed work. Different consistencies (flood, piping, stiff) are used for various effects.
- Piping Skills: Intricate details like flowing manes, eyelashes, and delicate horn spirals are created using fine piping tips.
- Coloring: Gel food coloring is recommended for achieving vibrant hues in the icing without altering its consistency significantly.
- Assembly: Some designs may involve layering icing or attaching small, pre-made sugar decorations.
Achieving Professional Results
For a polished look, consider these points:
- Consistent Icing: Ensure royal icing is mixed to the correct consistency for each application (e.g., "15-second" icing for flooding, stiffer for outlines and details).
- Smooth Flood: Use a scribe tool or toothpick to eliminate air bubbles and guide flood icing into corners for a flawless base.
- Drying Time: Allow adequate drying time between applying different colors or layers of icing to prevent bleeding and ensure clean lines. This can range from several hours to overnight.
- Details and Dimension: Use techniques like wet-on-wet for seamless patterns, or allow base layers to dry before adding piped details for a more 3D effect.
- Finishing Touches: Apply edible glitter or luster dust carefully, often with a fine brush, once the icing is mostly dry but slightly tacky for better adhesion, or fully dry for a dusted effect.