
Regular cleaning prevents tarnishing and extends the lifespan of your copper cake molds. Follow this precise guide for efficient results.
Necessary Supplies
Gather these essentials before starting:
- Mild dish soap and warm water
- White vinegar
- Baking soda
- Soft microfiber cloths
- Soft-bristle brush
- Lemon juice (optional)
Step-by-Step Cleaning Process
Execute these steps thoroughly but gently to avoid scratching the copper:
- Initial Rinse: Wash molds with warm water and mild dish soap using a soft cloth to remove surface debris.
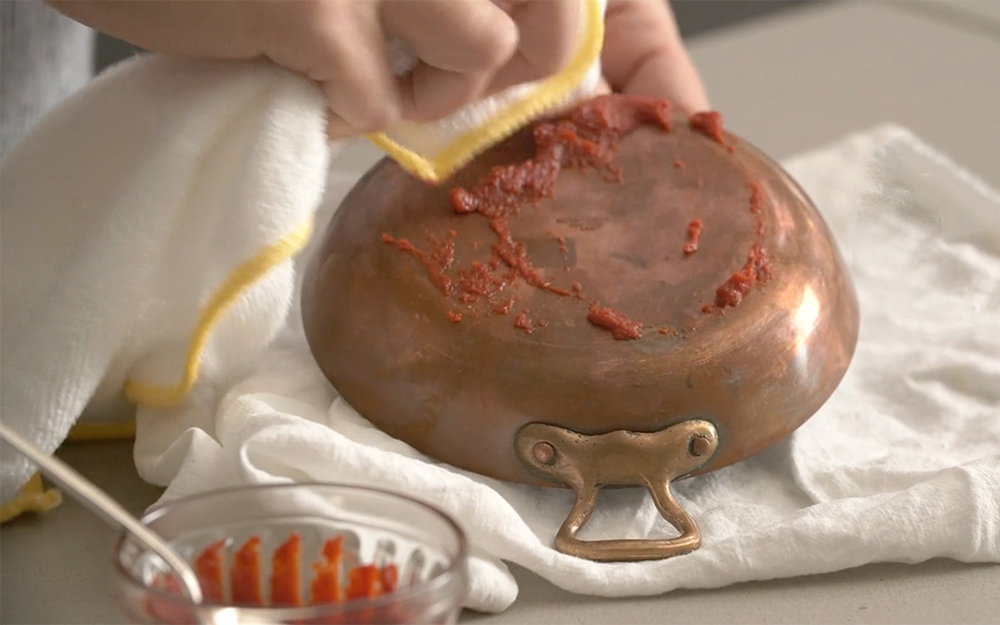
- Deep Clean Tarnish: For stubborn spots, create a paste of equal parts baking soda and water; apply with a soft brush, rinse thoroughly.
- Vinegar Soak (Optional): If tarnish persists, soak molds in a solution of 1 part white vinegar to 2 parts water for 10 minutes, then rinse.
Dry immediately with a microfiber cloth to prevent water spots.
Polishing for Maximum Shine
Polish after cleaning for lasting brightness:
- Natural Polish: Rub a small amount of lemon juice onto the surface with a cloth, then buff dry for extra shine.
- Protective Coating: Apply a thin layer of food-safe mineral oil with a cloth to seal the copper and prevent oxidation.
Maintenance and Safety Tips
Sustain shine with these practices:
- Clean molds after each use to avoid buildup.
- Store in a dry, cool place away from moisture.
- Wear gloves during cleaning to protect skin from acidic solutions.
- Never use abrasive materials like steel wool to prevent damage.
For severe corrosion, consult a professional restorer.