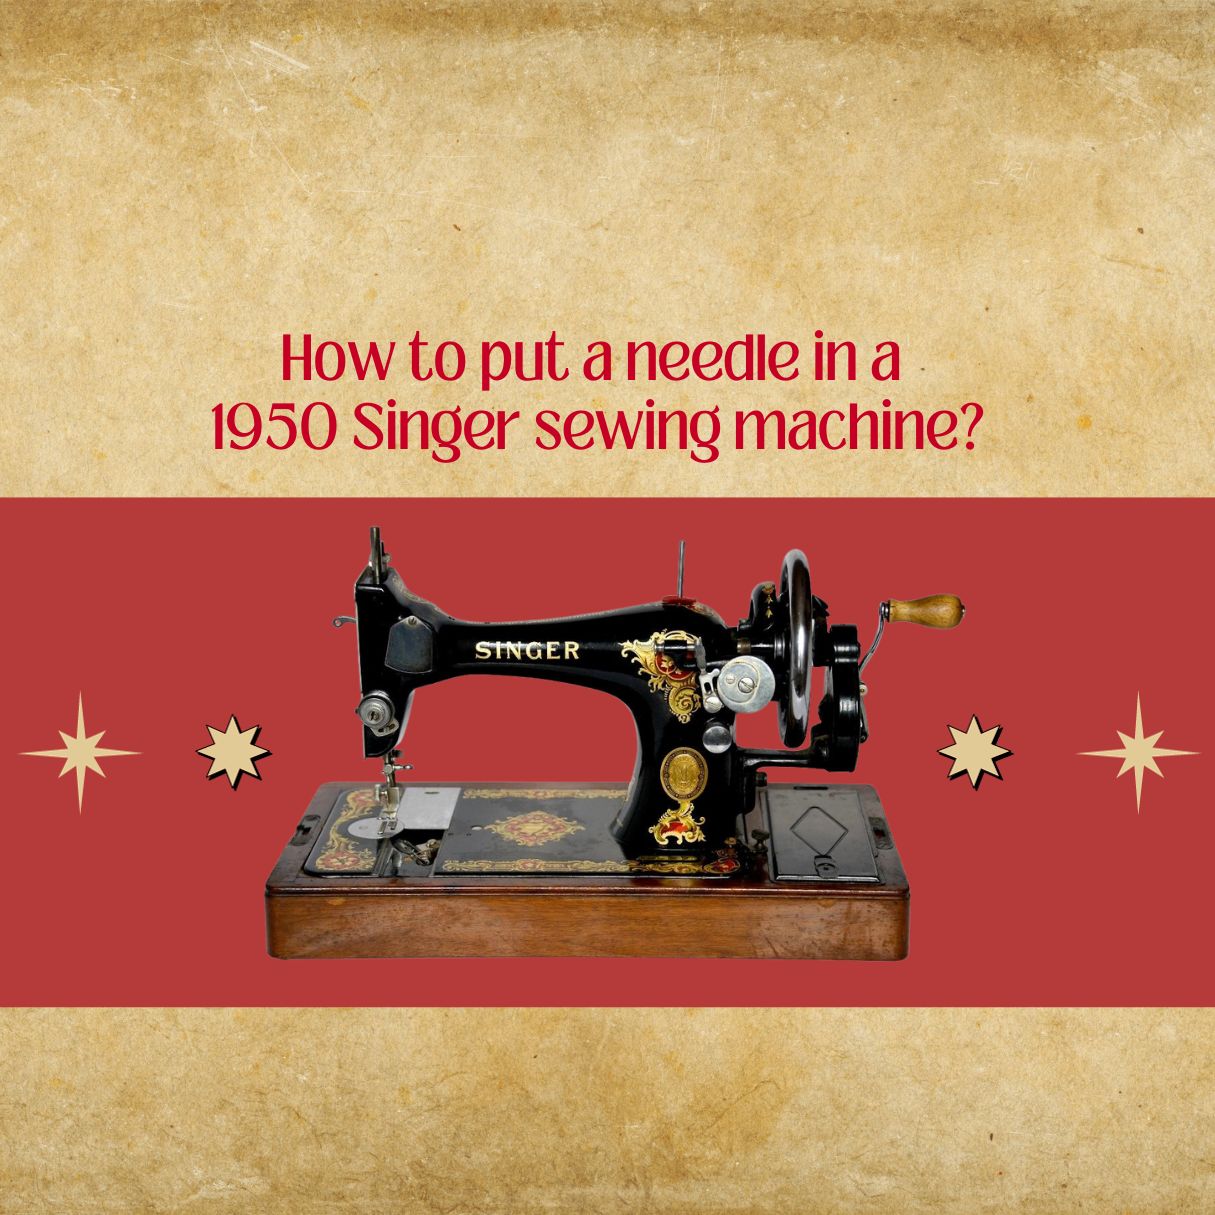
Using a 1950s Singer sewing machine requires understanding its vintage mechanics. Here's a concise guide for beginners:
Before You Start: Preparation & Safety
Find the Manual: Locate the specific manual (model numbers like 15-91, 201, 221, 301, 401, 403, 404 are common). Search online using the exact model number. Study it thoroughly.
Clean & Oil:

- Unplug the machine.
- Remove the needle plate & bobbin case. Use a soft brush to remove lint/dust from feed dogs, hook area, & tension discs.
- Apply sewing machine oil only to all points described in the manual. Wipe away excess. NEVER use WD-40 or household oil.
Check the Belt & Motor:
- Ensure the drive belt isn't cracked or brittle. Replace worn belts.
- Listen for smooth motor operation. Unusual noises require inspection.
Install Needle Correctly: Insert a universal (Class 15) or sharp (HJ) needle, flat side facing back, fully up into the clamp. Tighten securely.
Threading the Machine (Top Thread)
- Raise the presser foot to open tension discs.
- Place thread spool on the spool pin.
- Follow the numbered thread path meticulously: through tension discs, U-shaped take-up lever (vital!), down to the needle.
- Thread needle front-to-back. Use manual handwheel if needed to position take-up lever.
Winding & Loading the Bobbin
- Use class 15 metal bobbins.
- Wind on the machine: Place spool on pin, thread through bobbin winder tension spring, hand-start thread on bobbin. Engage clutch/stop lever on winder. Depress foot pedal until full.
- Insert bobbin into metal case: Hold case, place bobbin with thread rotating clockwise (check manual). Pull thread into the spring tension slot.
- Drop case into hook race. Hold bobbin case finger latch, push down & release until it clicks securely.
Bringing Up the Bobbin Thread
- Hold the top thread tail lightly to the left.
- Turn the handwheel TOWARDS YOU one complete revolution.
- As needle goes down and back up, the top thread should hook the bobbin thread, pulling a loop up through the needle plate.
- Pull gently on the top thread to bring the bobbin thread tail up. Pull both tails under the presser foot & towards the back.
Sewing Basics
Controlling Speed:
- Practice feathering the foot pedal - slight pressure equals slow speed. These motors respond instantly.
- Use the handwheel for precise placement (corners, starting/stopping). Always turn towards you.
Stitch Length & Tension:
- Adjust stitch length dial (usually 0-4, 0=shortest). Start around 2.5-3 for general sewing.
- Balanced tension: Top & bottom stitches look identical. If loops appear on top, decrease top tension or increase bottom. If loops on bottom, increase top tension or decrease bottom. Adjust one tension at a time, in small increments.
Reverse: Most lack a reverse lever. To secure stitches, shorten stitch length to 0, sew 3-5 stitches in place.
Maintenance for Longevity
- Oil after every 8 hours of use (points specified in manual).
- Keep covered to prevent dust buildup.
- Avoid forcing mechanisms. If stuck, STOP, check for thread jams or lack of oil.
- Replace the needle regularly after major projects or when dull.
Key Tips for Success
- Patience is crucial. Master threading & bobbin setup first.
- Use quality all-purpose thread (cotton-wrapped polyester works well). Avoid cheap, fuzzy thread.
- Start with medium-weight woven cotton fabrics.
- Practice consistently. Vintage Singers reward skill with impeccable, durable stitches.